

iRecruit
Step-by-step guide
Contents
- Overview
- Manage Job Categories and Sub Categories
- Create a Job Category
- Create a Sub Category
- Delete a Job Category or Sub Category
Overview
Categorising jobs will facilitate the process of searching for a role in your organisation. There are two levels of categorisation; Job Category and Sub Category, the latter being a further division of the former. Candidates can search for roles by category and opt to receive notifications when jobs are posted in categories of interest. These categories are set up and maintained in the Ciphr iRecruit Admin Portal.
| Note: Access to the Admin Portal is restricted and only accessible to users of iRecruit with the appropriate permissions. |
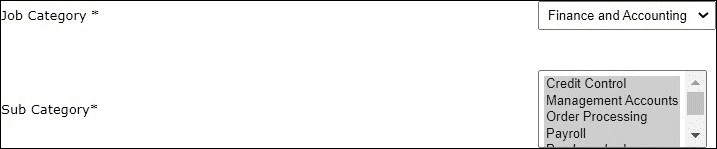
These options are presented to a Ciphr iRecruit user when creating a job;
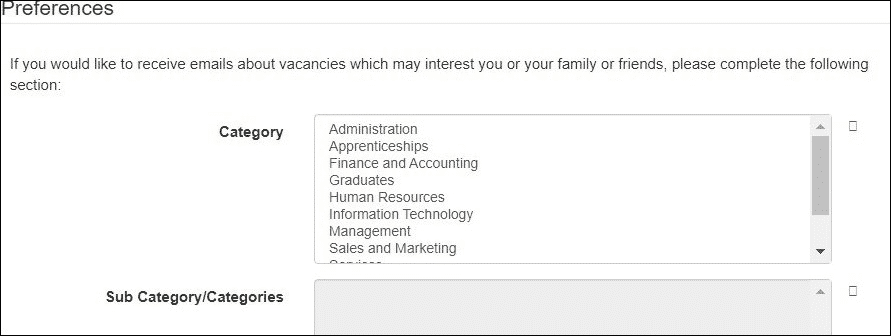
And in the candidate portal on registration;
To manage Job Categories and Sub Categories
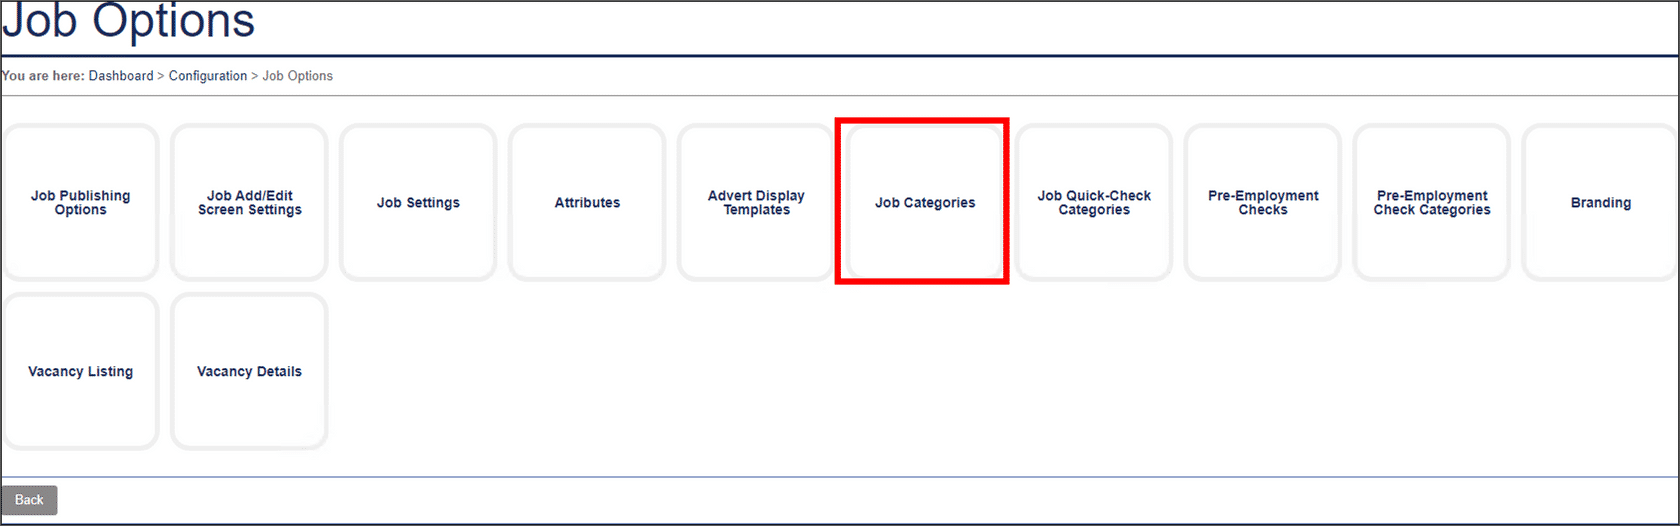
- In the Admin Portal click Configuration > Job Options > Job Categories
- The existing Job Categories will be displayed
- For each category the number of existing Sub Category options will be displayed alongside the wording "Manage existing" x"

To create a Job Category
- Click Add Category
- Enter the Category Name and a Description if required

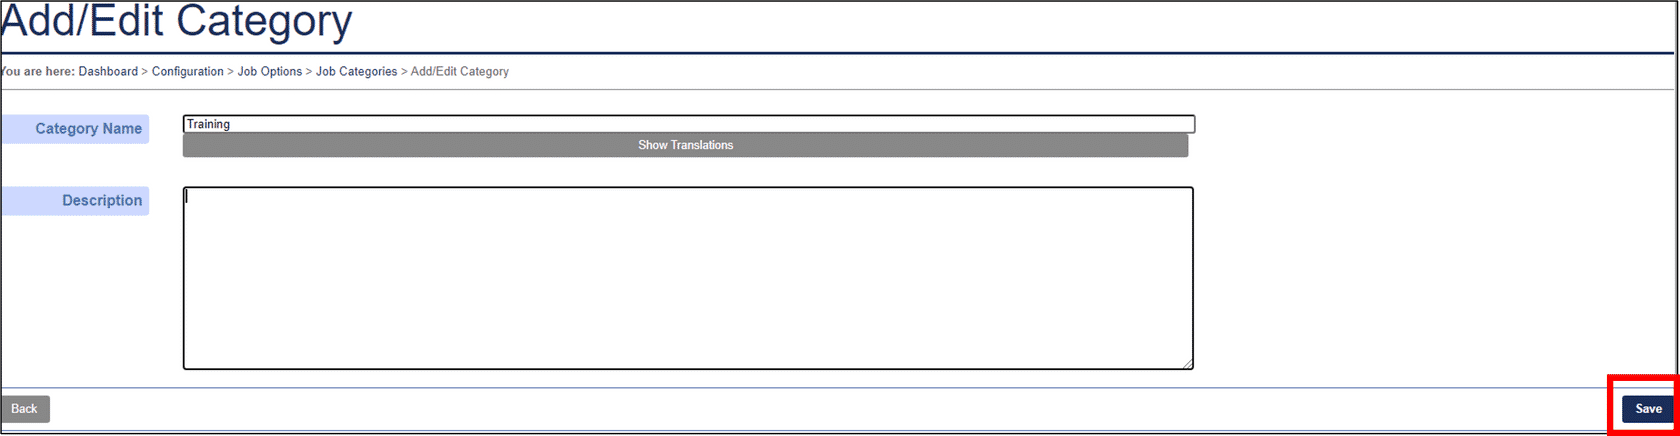
| Note: The Description field is for information purposes only and does not impact system usage. |
| Note: Show Translations is a Google feature allowing for translation into English. |
To create a Sub Category
There are two available methods to create additional sub category options.
Option 1
- Against the Job Category that you wish to add a further sub category click Add New
- Enter the Sub-Category Name and click Save
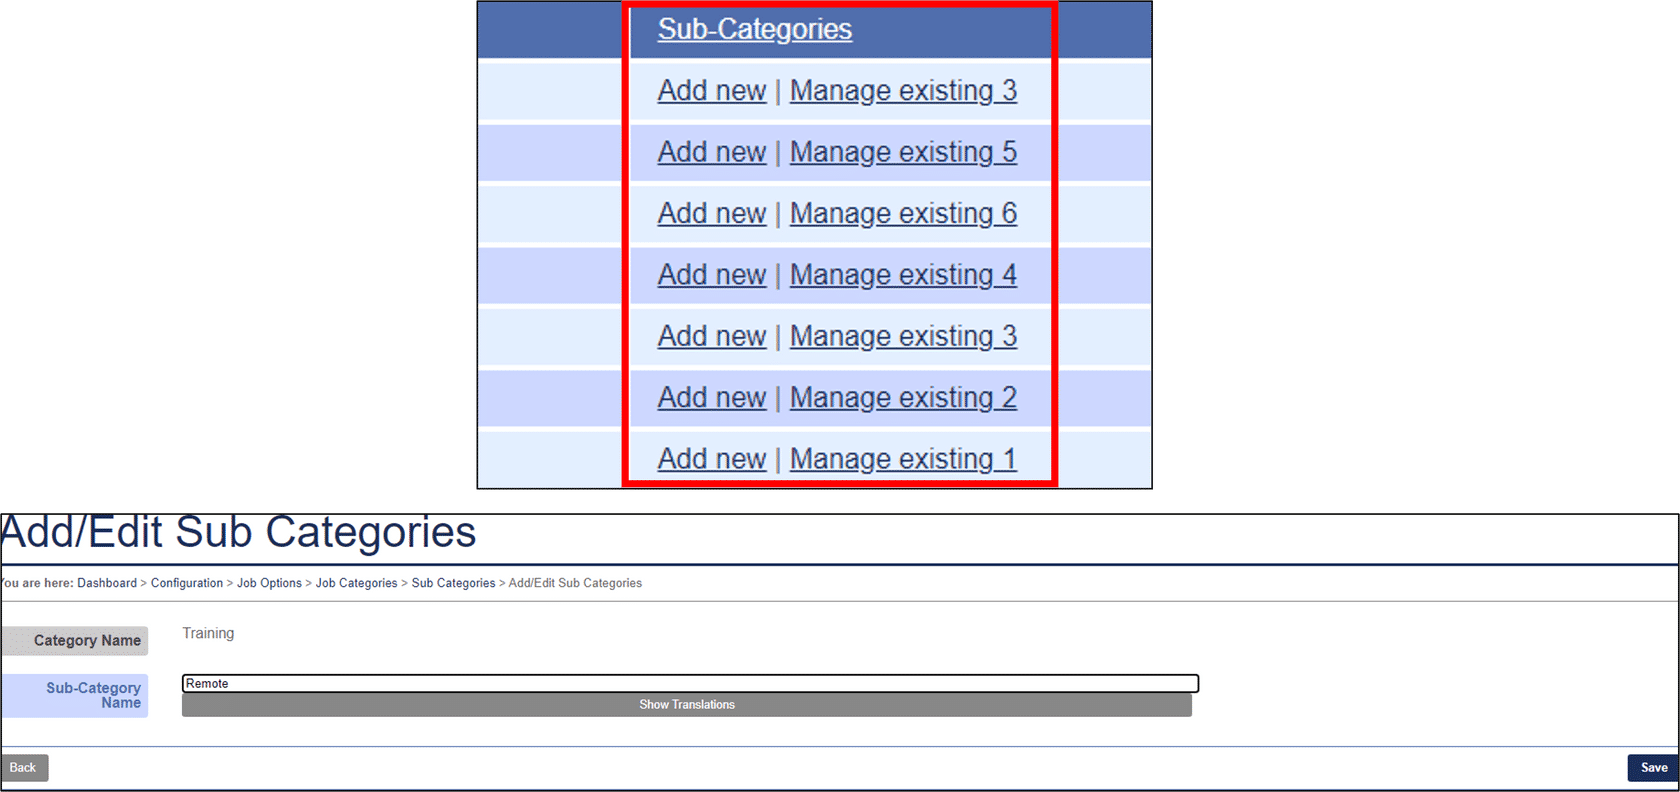
Option 2
- Click Manage Existing X
- Click Add Sub Category

To delete a Job Category or Sub Category
- Click the Delete option which is alongside the entry that is to be removed
| Note: Categories that are currently in use cannot be deleted. |
Footer
Comments
0 comments
Article is closed for comments.